Do you have an unused closet or one that doesn’t suit your current needs? If so, you may be considering removing it to expand your living space or create a more open floor plan. Removing a closet wall is a relatively simple project that can be completed in a weekend with the right tools and knowledge. In this comprehensive guide, we will provide you with step-by-step instructions on how to remove a closet wall safely and efficiently.
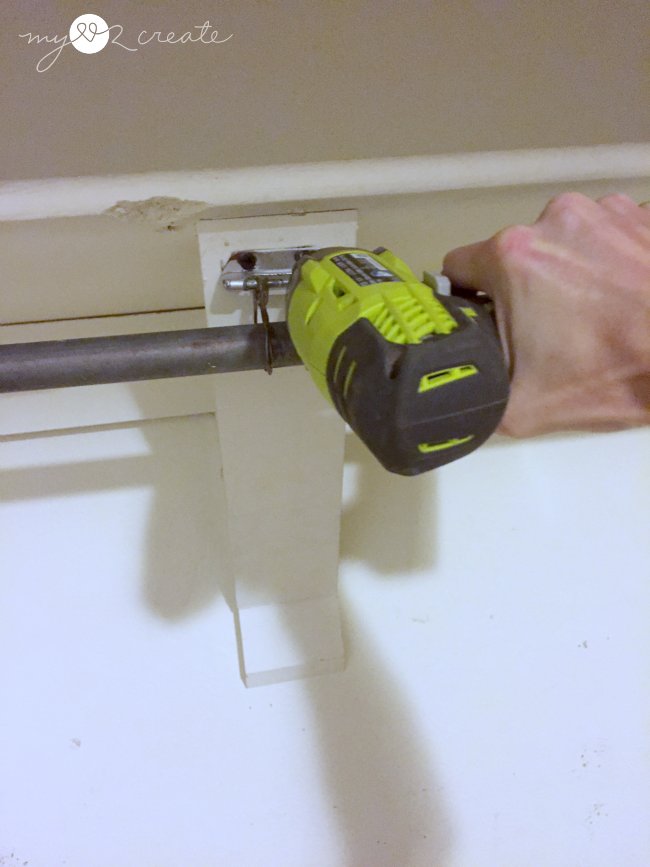
Image: www.mylove2create.com
Assessing the Project
Before starting the project, it is important to assess the condition of the wall and make sure that it is safe to remove. Inspect the wall for any signs of structural damage or cracks. If you find any major problems, it is best to consult with a professional contractor before proceeding. Additionally, check the wall for any electrical wires or plumbing pipes before removing it.
Gathering Tools and Materials
To remove a closet wall, you will need the following tools:
- Reciprocating saw or circular saw
- Stud finder
- Level
- Measuring tape
- Pencil
- Safety glasses
- Gloves
- Dust mask
- Hammer
- Crowbar
- Drywall saw
- Drywall screws
Step-by-Step Instructions
-
Locating Studs: Use a stud finder to locate the studs that are supporting the wall. Mark them with a pencil.
-
Cutting the Wall: Using a reciprocating saw or circular saw, carefully cut the drywall along the marked studs.
-
Removing the Drywall: Use a drywall saw to cut the drywall on the other side of the wall and then remove it.
-
Disconnecting Electrical Wires: If there are any electrical wires running through the wall, disconnect them from the electrical source before proceeding.
-
Removing Nails and Screws: Use a hammer and crowbar to remove any nails or screws that are holding the studs in place.
-
Cutting Studs: Use a reciprocating saw or circular saw to cut the studs at the floor and ceiling lines.
-
Removing the Studs: Remove the studs from the wall.
-
Smoothing the Floor and Ceiling: If necessary, use a hammer and chisel to smooth out any rough edges on the floor and ceiling where the studs were removed.
-
Patching the Wall: Hang new drywall over the opening and screw it into place using drywall screws.
-
Finishing the Wall: Apply joint compound to the seams between the drywall panels and smooth it out. Once the joint compound is dry, sand it down until it is flush with the wall.

Image: www.bobvila.com
Safety Precautions
- Always wear safety glasses, gloves, and a dust mask when working with drywall.
- Be careful not to cut into any electrical wires or plumbing pipes.
- Do not overload the electrical circuits by using too many power tools at the same time.
- Keep the work area clean and free from tripping hazards.
How To Remove A Closet Wall
Conclusion
Removing a closet wall is a relatively simple project that can be completed in a weekend with the right tools and knowledge. By following the step-by-step instructions in this guide, you can safely and efficiently remove a closet wall to expand your living space or create a more open floor plan. If you encounter any unexpected problems during the project, do not hesitate to consult with a professional contractor for assistance.
